1. how to create blog?
- First open blogger.com in your browser.
- In that click on create a blog.
- Write the title of the blog you want to create.
- Create a url for your blog.
- Enter the name you want the blog to display.
- And click save/finish.
That means your blog will be ready. Then click on ‘+ NEW POST’ to write a new post and start writing your new post with a proper title. Then click on the PUBLISH button to publish your writing.
2. What’s the domain name?
When you create a daily/blog on blogger.com, you must have a question in your mind that why whatever domain name you are writing is getting linked to blogger.com and not just getting .com? Then the domain name is the name you want to put in its place. It is a kind of proof that you have exclusive rights to the place. A domain name is a name for a space on the Internet that you own entirely.
3. why to buy domain?
I would like to tell you here that blogger.com is a product of Google. So with it you get a chance to write your thoughts on the internet and with it the option of earning from adsense is available but the rate of adsense approval for marathi blogs is around 45 percent because you have everything provided by blogger.com for free. So if you want your own place on the internet, if you want to get approved on adsense.com as soon as possible or if you are planning to build your own unique authority, it is important to buy a good domain name.
4. What do you need to buy domain?
Buying a domain name does not require anything. Of course, registration has to be done with the person from whom we are buying something. You have to write your name, village address, mobile number, email id, the name of the desired domain name on it. You have to choose the duration you want, usually it has to be renewed after taking it for one year. And you have to pay some money, that’s it. You can take it to blogger.com, wordpress.com etc. You can add the webpage you have created or want to create or later sell it to someone else.
5. From Where to buy domain?
Now, there are many options available on the internet from which you can get your domain name, but some of the options that are named are,
Out of these you can get domain name from anywhere or from anywhere you like. Because here at that time a lot of offices were available cheaply. And even now there are special offers for you as you will notice if you keep reading.
6. Method to buy domain name.
Go to the above corner and first of all you have to search the name of the domain name you want in the search bar available there. You will see top level domains like .com, .in, .org etc. Select the one you need. Or if the required one is not available, another one will have to be used. After creating an account on that website, click on buy now. You have to enter your real name while filling the registration form. Add discount voucher if available. After that select the payment method and pay as much money as there is an option of digital wallets to some extent. Then you will get your order confirmation email from them.
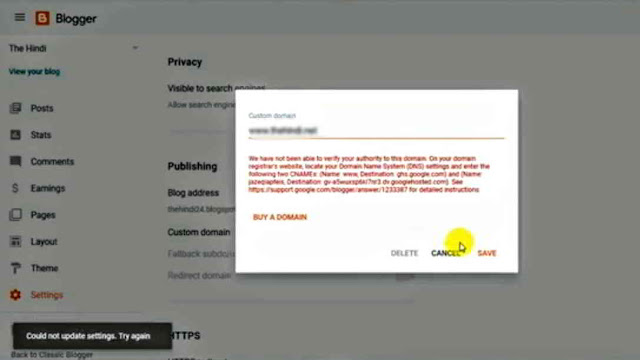
7. How to Connect new domain with blogger?
- Get adsense approval
- Optimize blog for search engines.
